Thursday, March 13, 2014

Preparing for Saltwater - Part V

Baitfish imitation must not miss from the saltwater fly fishing box. I tied them on Owner Aki, Owner SSW and Eagle Claw TK10 ( Lazer Trokar ).


Thursday, March 6, 2014

Monday, February 24, 2014

Preparing for Saltwater - Part III

Needlefish are historically the shallow-water barracuda's favorite prey, at least thats what I read again and again during the last weeks. This are my cuda flies!


Thursday, February 20, 2014

Preparing for Saltwater - Part II

The clouser deep minnow is playing a very important role in saltwater fly fishing. I often heard experienced saltwater fly fishermen saying that the clouser is their first choice whens about inshore fishing. I tied also a few. After I finished the white buck tail I had at home, I replaced it with some white bait fish fibre ( the blue clouser ). Just hope this flies will make me happy in a few weeks.


Monday, February 10, 2014

Preparing for Saltwater - Part I

The title is saying everything, only 6 weeks left. Preparing for a new dimension of fly fishing I never experienced till yet. For the beginning some Tubebandflash and Tubefortuna.


Tuesday, January 14, 2014

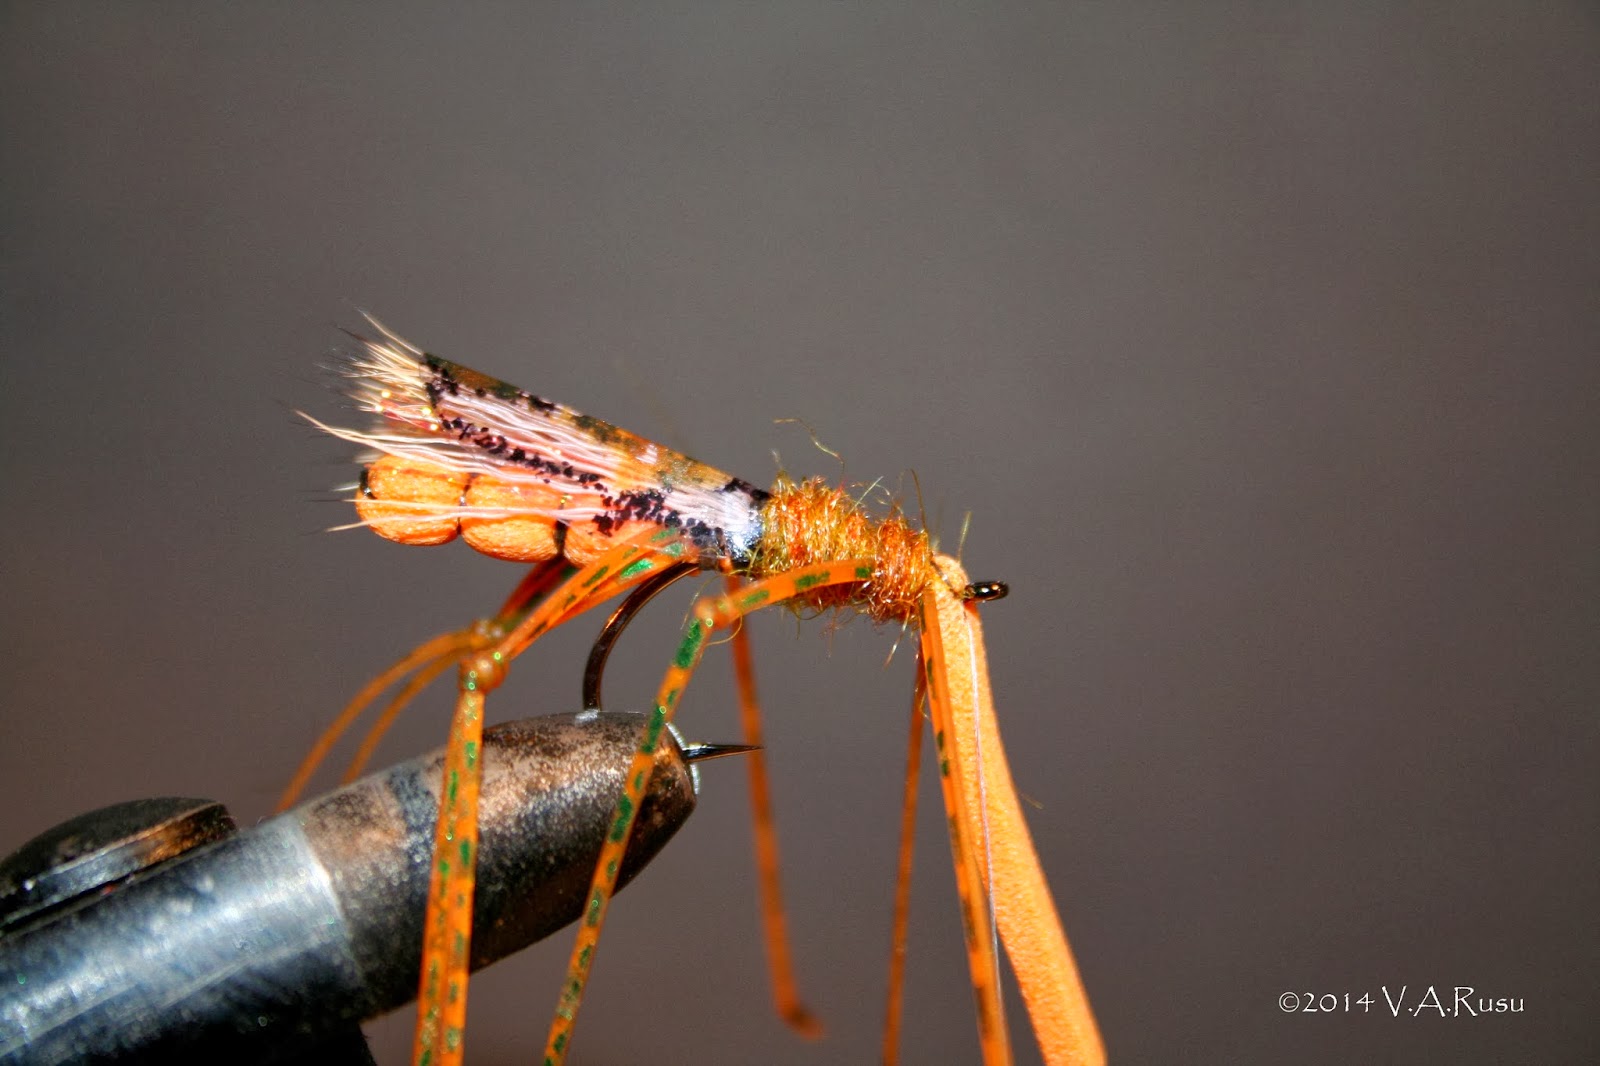
My Hopper - Part 2 ( step - by - step )


Let's start tying 'my hopper' like I promised you during the last post. 
Pierce the extended foam body like in the picture below, then tie the thread on the hook shank. 


Additionally you can use a drop of adhesive ( Patex ) to glue the 2 foam parts together before running the thread over the foam.


Tie on each side a rubber leg. You can put some dubbing ( one row ) on the thorax before you tie in the legs.


After the legs are on, tie on the shank of the hook another piece of polycelon that will build the head. Run your thread back and put some more dubbing on the thorax of the hopper. 


Now it's time to build the wing. First of all I tie some crystal flash fibers and trim them on the bodies length.  Don't use more than 10.


Cover the crystal flash with a bunch of deer hair and then with the premade polyethylene ( plastic bag ) wing. 


Apply more dubbing on the thorax and tie in the front legs like in the picture below. 


For building the head of the hopper, pierce the foam with a thicker needle at the same place where the eye of the hook is, then bend the foam over the hook eye till this is going through the premade orifice like in the picture below.


Now pierce again the foam with the thick needle about 7-8 mm in front of the hook eye, put a drop of Patex on the foam between the hook eye and the new orifice, bend the foam back and get the hook eye through this second premade orifice. 


Tie the head foam behind the front legs and use some glow yearn as an indicator. The hopper is ready for some action. This terrestrial pattern will bring you many fish during the summer months. 


Wish you a lot of fun.

Monday, January 13, 2014

My Hopper - Part 1 ( The Foam Body )

To tie 'my hopper' you have to prepare all the needed parts. The barred rubber legs are a great addition to any hopper or cricket pattern. Just put two of them together and make a knot, then cut one of the two pieces near the knot and the leg is ready. For the wing, I used a thicker plastic bag that I coloured with some black and brown waterproof pencils, then I cut it in the shape of of a hopper wing. Optionally you can use some plastic ball eyes or you can make some of a piece of mono filament. But now lets talk about the extended foam body. It is easier to tie it than it looks like. 
Mount a needle in your vice and pierce a 4 mm wide piece of foam like in the image below. 


Start the thread in front of the foam ( about 4-5 wraps ), then wrap twice over the foam like in the picture. Don't use waxed thread, you may get problems pushing the body off the needle.


Take a few wraps again in front of the foam, bend the foam over the needle and start wrapping the thread over the two foam parts ( about 2-3 wraps ), then continue with 4-5 wraps on the needle.


You chose how many and how big the segments of the extended foam body will be.


When you finished the body, whip finish, cut the thread and secure it with some head cement. Don't pull the body off the needle, push it.


Now it's time to put all the parts together and to tie the hopper.