Let's start tying 'my hopper' like I promised you during the last post.
Pierce the extended foam body like in the picture below, then tie the thread on the hook shank.

Additionally you can use a drop of adhesive ( Patex ) to glue the 2 foam parts together before running the thread over the foam.

Tie on each side a rubber leg. You can put some dubbing ( one row ) on the thorax before you tie in the legs.

After the legs are on, tie on the shank of the hook another piece of polycelon that will build the head. Run your thread back and put some more dubbing on the thorax of the hopper.

Now it's time to build the wing. First of all I tie some crystal flash fibers and trim them on the bodies length. Don't use more than 10.

Cover the crystal flash with a bunch of deer hair and then with the premade polyethylene ( plastic bag ) wing.

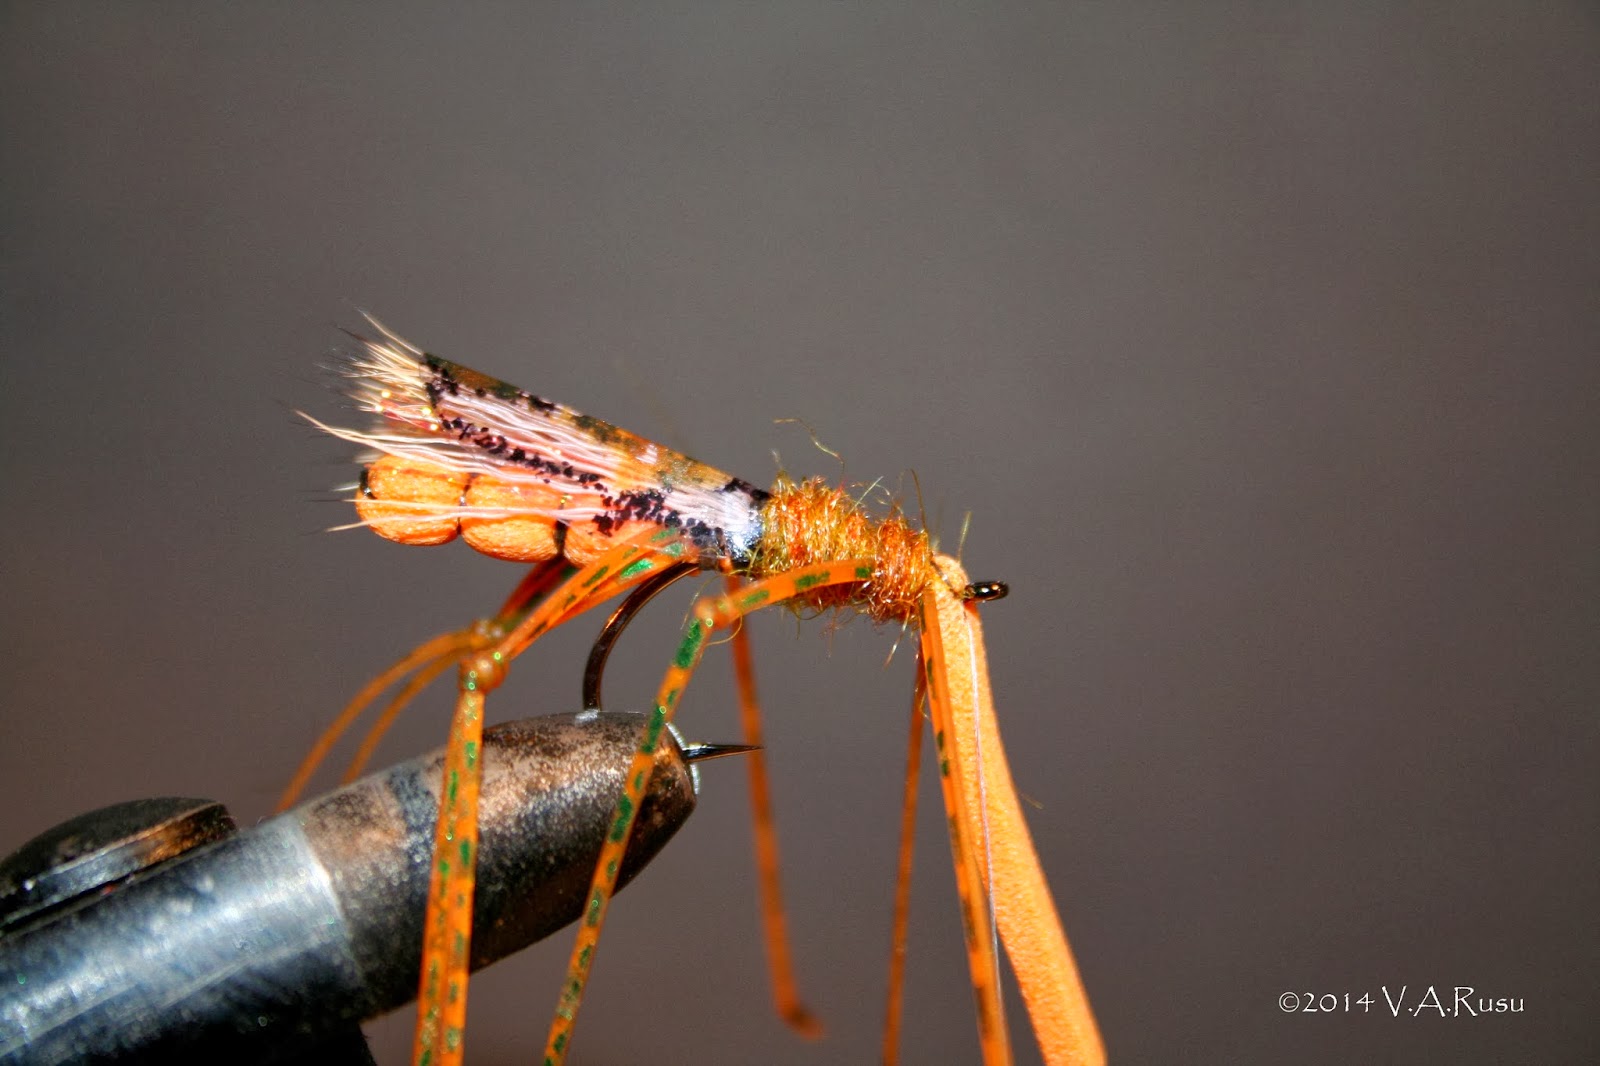
Apply more dubbing on the thorax and tie in the front legs like in the picture below.

For building the head of the hopper, pierce the foam with a thicker needle at the same place where the eye of the hook is, then bend the foam over the hook eye till this is going through the premade orifice like in the picture below.
Now pierce again the foam with the thick needle about 7-8 mm in front of the hook eye, put a drop of Patex on the foam between the hook eye and the new orifice, bend the foam back and get the hook eye through this second premade orifice.

Tie the head foam behind the front legs and use some glow yearn as an indicator. The hopper is ready for some action. This terrestrial pattern will bring you many fish during the summer months.

Wish you a lot of fun.
No comments:
Post a Comment